I love Instagram.
No big surprise there: it seems like everyone loves Instagram, and I think that’s awesome, because it means I get to look at a ton of cool photos every day. I’ve always wanted to do something with my Instagram photos, and I’ve thought about having them printed onto canvas, having a giant poster made, and I even briefly considered getting a pillow made (but 95 bucks for a pillow?! Whomp whomp).
I saw a great post on make great a while ago where Erica had some Instagram photos printed and then turned them into coasters. I was sold. I have always believed a drink isn’t quite ready until it is on a little square platform (I also still use two spaces after a period, though, so . . .I don’t know if I’m a great person to take stylish advice from).
OK. Let’s go. I got some photos printed. I used PostalPix because I could choose my photos and pay directly from my phone. I didn’t shop around at all, but there are a bunch of places that will print your Instagram photos,.
I also procured some white 4×4 ceramic tiles for THIRTEEN CENTS EACH. I almost bought a hundred, just because I was amazed at how cheap they are. In the end, I went with a manageable 8 tiles. I also grabbed my jar of Mod Podge (I used satin finish because I don’t like shiny things, but I’m sure anything would be fine), and a foam brush.
Here’s what I did:
• Wipe all the dust and cat hair off the tiles. One tile at a time, spread a thin layer of mod podge on a tile, and then place your photo right on the tile. I did my best to center the photos.
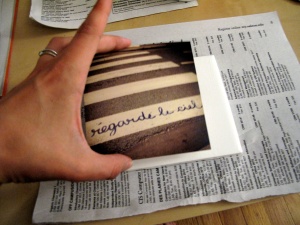
• Wait for a while. Longer than you want to. I could only wait 10 minutes before my patience ran out, and that wasn’t quite long enough. You want your mod podge to be pretty dry so your picture stays in place (mine didn’t and it was kinda annoying to deal with)
• With the foam brush, apply a layer of mod podge on top of your photo. Wait 20 minutes.
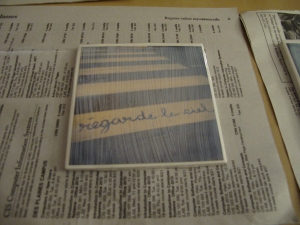
• Add 2 more coats of mod podge, waiting between each coat.
• Let these suckers dry overnight.
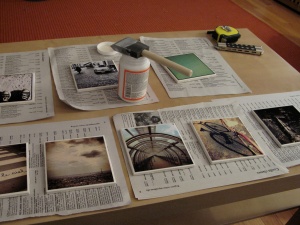
When I emailed Erica to ask if I could link to her blog post, she strongly suggested I finish and waterproof my coasters with an acrylic spray. I used this one,and applied 6 coats, waiting about 10 minutes between coats. I don’t have a backyard or a garage, which would be the best place to apply this stuff, but I was in the process of painting my kitchen. I just put the tiles on a tarp in there, opened all the windows, turned on all the fans, and sprayed.
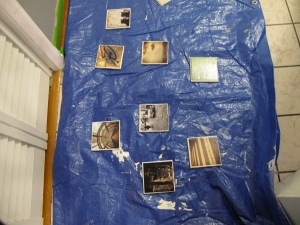
At this point, these suckers looked pretty awesome.
They weren’t really functional, though, because the back of the tile is pretty rough and not only was I scared to use them on my table, but there was an awful, frictiony feeling every time I moved the coasters around. Erica uses little felt pads on the back of her coasters, but I couldn’t find them anywhere (ok, I only looked in home depot, and they didn’t have them there), so I was hoping I could get away with skipping that step. Turns out, I couldn’t.
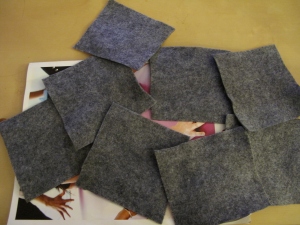
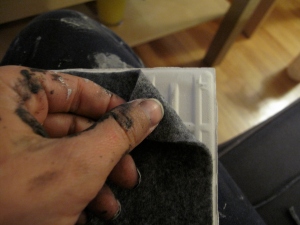
I ended up cutting “squares” of felt out of some felt I found in my craft area and mod podging those to the back of the coasters and that works great.
If you want to go the square route, I found the best way to attach the felt to the back is to moosh some mod podge onto the center of the back of the tile, smoosh the felt onto tile, and then add a little mod podge on the corners of your felt, and smoosh again. This way, if your “squares” are super crazy, you can trim off any felt that pokes out in a very unattractive manner. Ugh, my hands were so painty.
So there you go! Your fancy orange drink now has a nice platform to rest on.
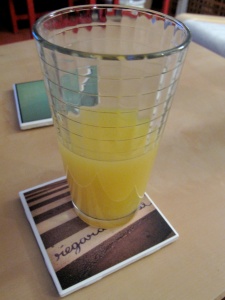
This is super cheap and it was so easy that I wasn’t even wearing pants for most of it.


